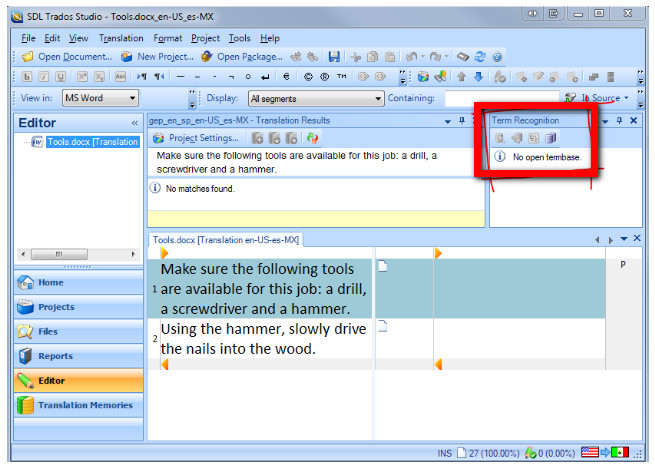
December 2015 Update: Read Paul Filkin's detailed explanation about the Glossary Converter, a great Open Exchange app that simplifies glossary management in Studio. For the original text of this post, please keep reading below.
Although you can enter terms manually in Multiterm, a more efficient way of populating a termbase is importing and already existing glossary.
Multiterm offers several import options. In this post we will see how to import glossaries from an Excel file.
MS Excel: Preparing your bilingual glossaries
Although you can enter terms manually in Multiterm, a more efficient way of populating a termbase is importing and already existing glossary.
Multiterm offers several import options. In this post we will see how to import glossaries from an Excel file.
MS Excel: Preparing your bilingual glossaries
Start with a two-column Excel file. To make things easier, make sure the first row in your Excel file includes your language names.

Multiterm Convert: Convert Excel file to be imported into Multiterm
After your Excel file is ready, the next step is converting it to a format that Multiterm can import. To do this, you will need to use SDL Multiterm Convert, which you will find in the same Program group as SDL Multiterm Desktop.
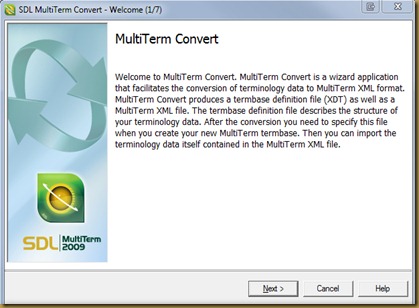
After clicking Next, you will see this screen:

After clicking Next, you will see this screen:

Leave the options as they are and click Next. In the next screen, choose Microsoft Excel format.

Clicking next will open up the screen where you will select the Excel file you want to convert. Click the Browse button next to the Input file field. Find your Excel file and select it. This will populate all 4 fields. Note the location of the Output file (by default the same location where your Excel file is stored).

Click Next.
Now, this is the critical step. On the next screen, choose each language name on the left, select Index filed on the right, and under Index field, select the same language.
See a quick video below:
Click Next.
Don't make any other changes in the following screens, just click Next until you're done.
This screen shows that the conversion was successful and tells you how many term entries were converted.

Clicking on Next takes you to the last screen in the Multiterm Convert process. Click Finish. This will close Multiterm Convert.
Multiterm Desktop: Importing your converted glossaries
Now that the Excel file has been converted, we're ready to import it into Multiterm.
Go to SDL Multiterm Desktop and open the termbase you want to import your terms into.
With the termbase open, click the Catalog tab on the bottom left of your screen:
Go to SDL Multiterm Desktop and open the termbase you want to import your terms into.
With the termbase open, click the Catalog tab on the bottom left of your screen:

The Catalog View will show you the name of the termbase and several options. Click on Import.

Right click on Default import definition, on the right-hand panel:

This will bring up a context menu. Select Process.
In the screen that opens, click Browse and select the Output file created by Multiterm Convert. Check Fast import, and click Next.

Click Next again. This starts the Import process. When the file has been imported, you will see a screen like this.

Click Next and then Finish to exit the Wizard.

You can repeat the Import process to add terms from other converted Excel glossaries to the same termbase.
Now your termbase is ready to be used in Studio.
To learn more, read Using Multiterm Termbases in SDL Trados Studio.