Even though there are several tools on the market that allow interpreters to store and retrieve terminology quickly and safely, many of us still rely on Excel to create and share glossaries with our colleagues. And many of us still use a simple search via Ctrl + F to find our terms.
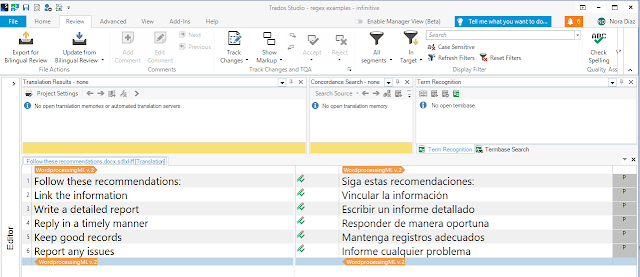
This is not only inefficient, as it doesn't display all the relevant terms grouped together, but rather jumps from hit to hit, making it impractical for the real-time searches required by interpreters. To achieve this, filtering is the best solution. However, setting up and using a filter while interpreting is not ideal either. A dynamic search box, on the other hand, would mimic the behavior we get from dedicated terminology management tools.
 |
| A dynamic search box enhances glossary usability |
The purpose of this post is not to explain how to create such a search box (that will be the subject of a separate post, when I can find a bit more time), but rather to share a ready-to-use Excel glossary file where I have added a dynamic search box. This file can be used as a template to create your own glossaries with dynamic search capabilities.
To use it, follow the steps below.
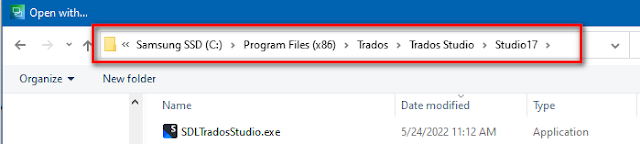
1. Download the Excel file, save it and open it. You may need to click Enable editing if you see a message appear at the top of the file. It may also be a good idea to use "Save As" and make a copy of the file.
2. Replace the sample terms in the Glossary tab with your own terms. You can type or paste your terms.

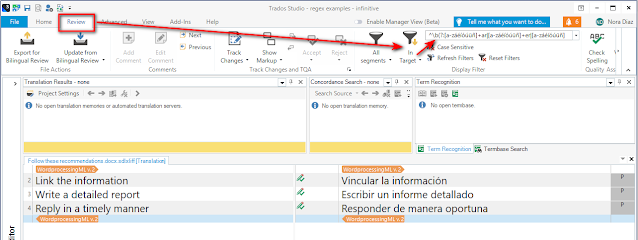
3. To use the glossary, go to the Search tab and start typing your desired term in the Search box (indicated by the magnifying glass). You will see all the terms that match the search string immediately listed under the search box.

The file is set up for English and Spanish. If you'd like to change the language labels, you will need to:
1. Edit the column titles in the Glossary and Search tabs.
2. In the Search tab, click cell A5 and look at the formula bar. You will see the formula that makes all the magic happen. Replace "English" and "Spanish" with the appropriate language names. Make sure they match exactly the names that you gave to your columns in the previous step. Be very careful not to change anything else.

If you'd like to see all of this in action, here's a short video.
And that's it. Time to convert your Excel terminology files into enhanced dynamic glossaries!